By Chris Jankowski, founder of Veros Premium Car Care
Paint correction removes swirl marks, light scratches, water spots and haze by leveling a microscopic layer of clear coat until it reflects light cleanly again. Done right, it is a two-stage process: a rubbing compound cuts out the defects, then a polish refines the finish to a deep, wet gloss.
This guide walks you through the exact process professionals use, step by step, with the Veros products made for each stage. If you've never polished a car before, read it all the way through once before you start.
In this guide
- Quick facts
- Know your defects
- Which combination do I need?
- What you'll need
- Polisher basics
- Don't polish these
- Step-by-step: wash to final wipe-down
- Settings cheat sheet
- How to tell you're done
- Troubleshooting
- Keeping it swirl-free
- FAQ
- Protect your corrected paint
- About the author
Quick facts
| Difficulty | Intermediate (beginner-friendly with a DA polisher) |
| Time needed | 4 to 8 hours for a full car, two-step |
| One-step correction | Swirl Removing Foam Pad + Final Polish: light to moderate swirls |
| Two-step correction | Rubbing Compound, then Final Polish: heavier swirls, scratches and oxidation |
| Machine | Dual-action (DA) polisher, 3, 5 or 6 inch backing plate |
Know your defects
Before you buy anything, look at your paint in direct sunlight or under a bright LED light and figure out what you're actually dealing with. Paint correction fixes defects that sit in the clear coat. It can't fix damage that goes through it.
| Defect | What it looks like | Can correction fix it? |
|---|---|---|
| Swirl marks | Fine circular scratches that look like a spiderweb around a light source | Yes. The most common reason people polish. |
| Holograms (buffer trails) | Rainbow-colored trails that move as you walk around the car, usually from bad machine polishing | Yes, with Final Polish on the Final Finishing Foam Pad |
| Light scratches | Single lines you can see but can't feel with a fingernail | Usually yes, with Rubbing Compound |
| Deep scratches | Scratches that catch your fingernail, or show white or gray primer | No. These need touch-up paint or a body shop. Polishing can soften the edges and make them less noticeable. |
| Water spot etching | Rings or spots that stay after washing and iron decontamination | Light etching, yes. Deep etching may only partly improve. |
| Bird dropping or bug etching | Dull, cracked-looking patches where droppings sat in the sun | Light etching, yes. Deep etching may remain. |
| Oxidation | Faded, chalky, dull paint, common on red and older cars | Yes, if the clear coat is still intact |
| Clear coat failure | White, cloudy, peeling or flaking patches, often on the roof and hood | No. The clear coat is gone and the panel needs to be repainted. |
Which combination do I need?
Always start with the mildest combination that works. Use this as your starting point, then confirm it on a test spot.
| Your paint | Product | Pad | Steps |
|---|---|---|---|
| New car, light haze or very light swirls | Final Polish | Final Finishing Foam Pad | One step |
| Moderate swirls and light scratches | Final Polish (or Rubbing Compound for more cut) | Swirl Removing Foam Pad | One step, or two if you used compound |
| Heavy swirls, scratches, oxidation, etching | Rubbing Compound, then Final Polish | Scratch Removing Microfiber Pad, then Final Finishing Foam Pad | Two steps |
What you'll need
- Veros Scratch Removing Microfiber Pad for heavy cutting with Rubbing Compound: deeper scratches, heavy swirls and oxidation
- Veros Swirl Removing Foam Pad for moderate correction or a one-step job
- Veros Final Finishing Foam Pad for the polishing stage and maximum gloss
- Veros Rubbing Compound to remove swirls, scratches and oxidation
- Veros Final Polish to refine the finish to a haze-free, deep gloss
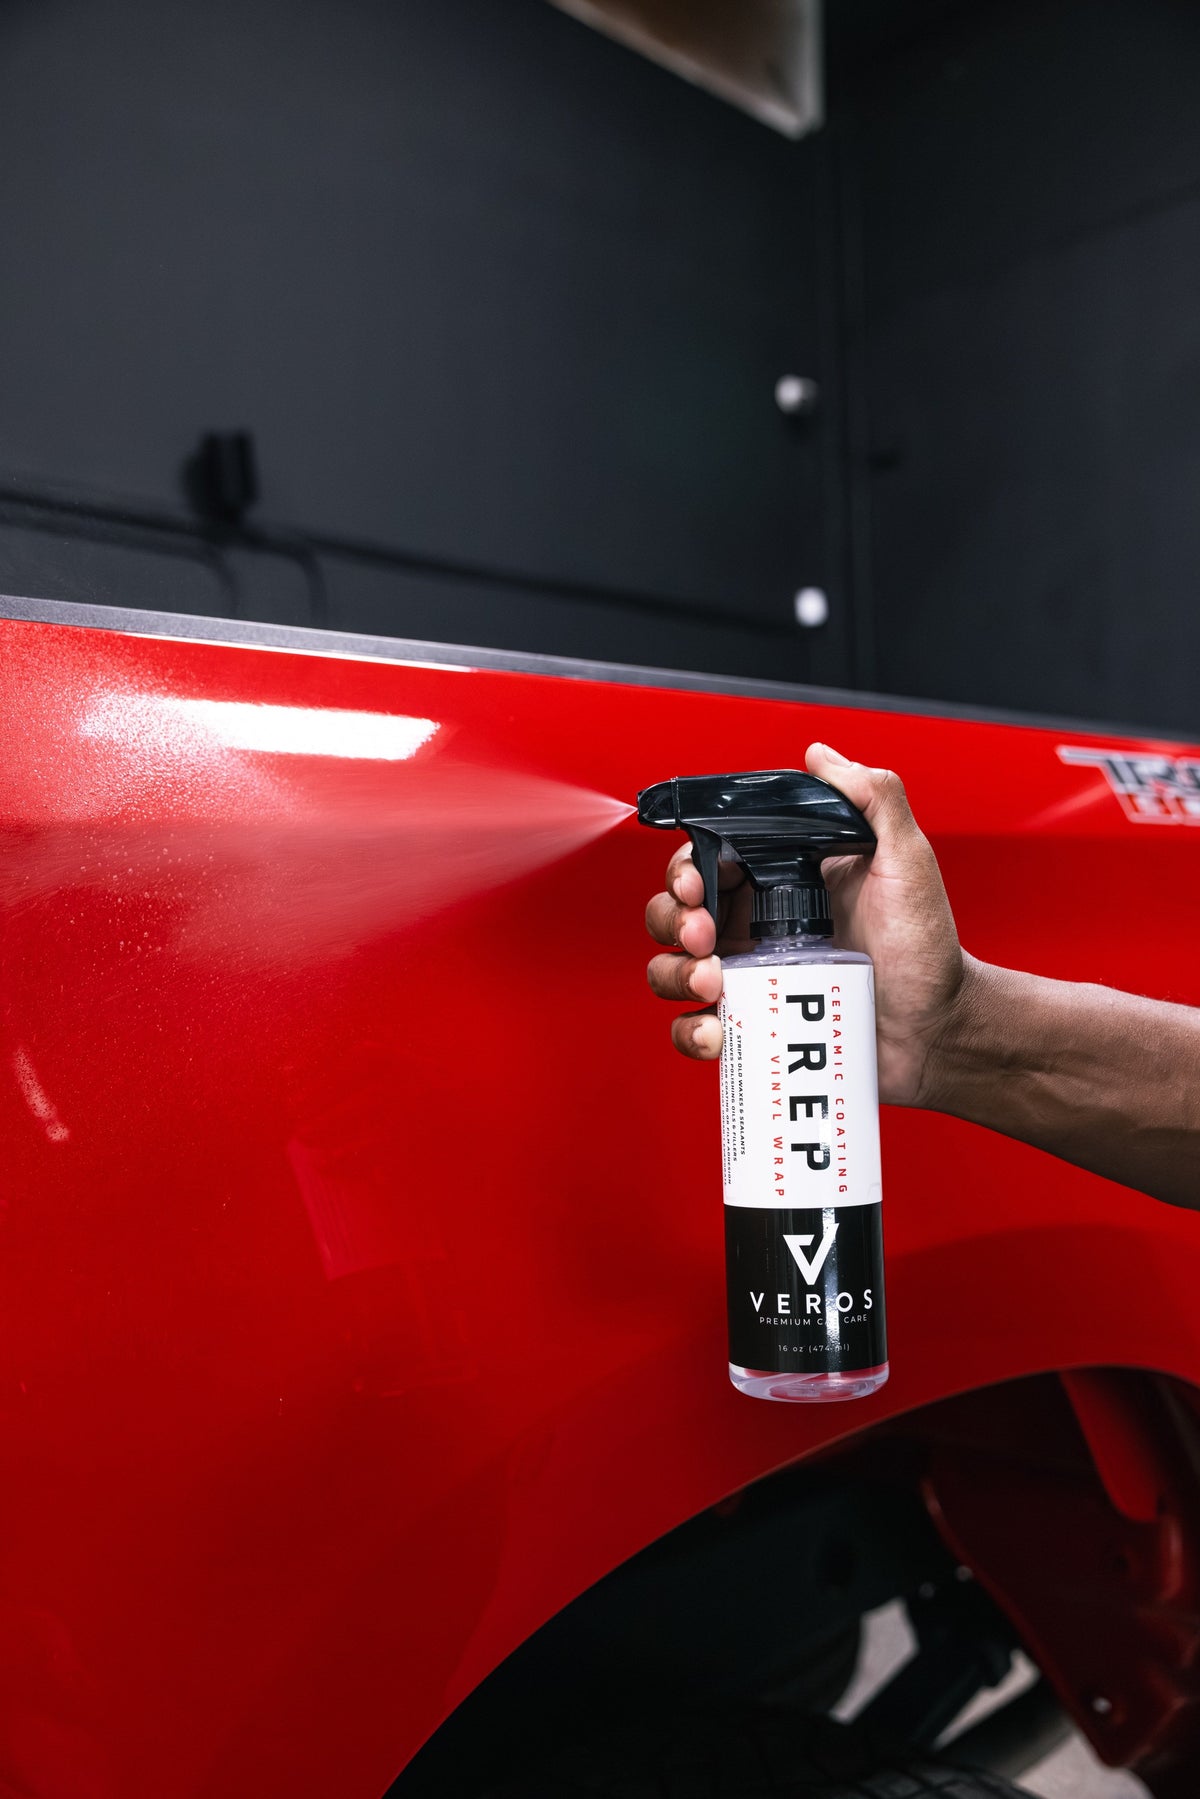
- Veros Prep Spray to strip polishing oils so you can see the true finish
- Veros Borderless Grey Microfiber Towels, at least 6 clean ones (the 10-pack is ideal)
- Veros Fine Grade Clay Pad for decontamination before you polish
- A dual-action (DA) polisher with a 3, 5 or 6 inch backing plate to match your pads
- Painter's tape, a bright LED inspection light, and a clean, shaded work area
Keep compound and polish pads and towels separate. Mixing them carries cutting residue into the polishing stage and leaves haze behind.
Shop all Veros paint correction products
Polisher basics
Use a dual-action (DA) polisher. A DA spins and oscillates at the same time, which spreads heat out and makes it very hard to burn through paint. A rotary polisher cuts faster but builds heat quickly and leaves holograms in untrained hands. Leave rotaries to professionals.
Short-throw vs. long-throw. Long-throw DAs (15 to 21 mm orbit) correct large panels faster. Short-throw DAs (8 to 12 mm) are easier to control and better for 3 inch pads on pillars, mirrors and bumpers. Either works for a first-timer.
Match the backing plate to the pad. Use a backing plate the same size as or slightly smaller than your pad, never bigger. A plate that sticks out past the pad can hit the paint.
How to hold it. Use two hands, keep the pad flat on the paint, and drape the cord over your shoulder so it never drags across the car. Let the machine's weight plus light to moderate hand pressure do the work.
Watch the pad spin. Put a marker line on the backing plate. If it stops turning while you polish, you're pressing too hard or tilting the pad, and you're no longer correcting anything.
Don't polish these
- Matte or satin paint, and matte PPF or wraps. Polishing makes matte finishes shiny and blotchy, permanently.
- Paint protection film and vinyl wraps. Don't use compound on film or vinyl. Ask your installer before polishing.
- Fresh paint. Wait until the body shop tells you the paint has fully cured.
- Single-stage paint (common on classics). There's no clear coat, so the pad will turn the color of the paint. Use the mildest combination and check your progress often.
- Repainted or thin panels. Aftermarket paint can be thinner or softer. A paint depth gauge tells you how much paint you have to work with.
- Edges, body lines and badges. Paint is thinnest on edges. Tape them off and stay a finger's width away.
- Textured plastic and rubber trim. Compound stains it white. Tape it off before you start.
Step 1: Wash and decontaminate
Start with a thorough hand wash using Veros pH Balanced Maintenance Soap, which cleans completely and leaves nothing behind. Next, apply Veros Gel Wheel Cleaner and Iron Remover to the paint. The thick gel clings to the surface instead of running off, giving it more dwell time to loosen embedded iron. Rinse, then go over the paint with the Veros Fine Grade Clay Pad. Any grit left on the surface gets trapped in your pad and causes new scratches.
Dry the vehicle completely with a soft microfiber towel. Work indoors or in the shade on a cool panel.
Step 2: Inspect and tape off
Use a bright LED light to find the swirls and scratches you want to remove. Run your fingernail across deeper scratches: if it catches, the scratch may be too deep to remove safely.
Tape off rubber trim, plastic, emblems and panel edges. Compound stains textured trim, and edges have the thinnest paint on the car.
Step 3: Do a test spot
Every paint is different, so start with a 2 ft × 2 ft test section. Try the least aggressive combination first: Veros Final Polish on the Final Finishing Foam Pad. If that removes the defects, skip compounding and save clear coat.
Still seeing swirls? Step up to Veros Final Polish on the Swirl Removing Foam Pad. Still seeing scratches? Move to Veros Rubbing Compound on the Scratch Removing Microfiber Pad. Use whatever combination works on the test spot for the rest of the car.
Step 4: Compound with Veros Rubbing Compound
- Prime the pad. Spread a thin, even layer of Veros Rubbing Compound across the face of a clean Scratch Removing Microfiber Pad (or the Swirl Removing Foam Pad for lighter defects). After the first section, 3 to 4 pea-sized drops is plenty.
- Spread at low speed. Place the pad flat on the paint before turning the polisher on. Spread the compound across a 2 ft × 2 ft section on the lowest speed.
- Work the section. Turn the DA up to a medium-high speed (around 4 to 5 on most machines). Use moderate pressure and slow, overlapping passes, about 1 inch per second, side to side and then up and down.
- Keep the pad flat. Tilting the pad concentrates heat on its edge and can burn through thin paint.
- Stop before it dries. After 4 to 6 overlapping passes, the compound should turn clear and thin. Turn off the machine while the pad is still on the paint.
- Wipe and check. Gently wipe off the residue with a Veros Borderless Grey Microfiber Towel, mist with Veros Prep Spray, and inspect under your light. Repeat the section if needed.
Clean the pad with a brush or compressed air after every section. A pad loaded with old compound cuts poorly and runs hot.
Step 5: Refine with Veros Final Polish
Compounding removes the defects; polishing removes the light haze compounding leaves behind and brings out the gloss.
- Switch to a fresh Veros Final Finishing Foam Pad and prime it with a thin layer of Veros Final Polish.
- Spread at low speed, then work the same 2 ft × 2 ft sections at a medium speed (around 3 to 4).
- Use light pressure. Let the pad and the polish do the work. Slow, overlapping passes in a crosshatch pattern.
- Finish clean. When the polish goes thin and clear, lift off and wipe gently with a clean Veros microfiber towel.
The paint should now look deep and wet, with no haze when you look at it under direct light.
Step 6: Wipe down with Veros Prep Spray
Polishes contain oils that can temporarily fill in fine scratches and make the paint look better than it really is. Veros Prep Spray strips those oils so you see the true finish.
Mist a panel lightly, wipe with one soft Veros towel folded in fourths, and buff dry with a second clean towel. Then inspect every panel under your LED light from several angles. Re-polish any area that still shows marring.
This step also leaves the surface perfectly clean, which is required before applying a ceramic coating, sealant or PPF.
Settings cheat sheet
Screenshot this table and keep it on your phone while you work. Speeds are for a typical 1 to 6 DA speed dial.
| Product | Pad | Spread speed | Work speed | Pressure | Passes per section |
|---|---|---|---|---|---|
| Rubbing Compound | Scratch Removing Microfiber | 1 | 4 to 5 | Moderate | 4 to 6 |
| Rubbing Compound or Final Polish | Swirl Removing Foam | 1 | 4 to 5 | Moderate | 4 to 6 |
| Final Polish | Final Finishing Foam | 1 | 3 to 4 | Light | 3 to 4 |
Every row: 2 ft × 2 ft sections, pad flat, about 1 inch per second, 3 to 4 pea-sized drops after priming, and clean the pad after every section.
How to tell you're done
After a Prep Spray wipe, shine your LED light straight at the paint. Corrected paint shows a crisp, round reflection of the light with no spiderweb swirls around it, and no cloudy haze from any angle.
Know when to stop. Each compounding pass removes a tiny amount of clear coat, and it does not grow back. If a scratch is still there after two compounding passes, leave it: removing the last 5% of defects is not worth thinning the clear coat on the whole panel.
Troubleshooting
| Problem | Likely cause | Fix |
|---|---|---|
| Haze or dull finish after compounding | Normal for the cutting stage | Follow with Final Polish on the Final Finishing Foam Pad |
| Holograms (rainbow trails in sunlight) | Pad tilted, too much pressure, or skipped the polish stage | Re-polish with Final Polish, light pressure, pad flat |
| Compound dusting | Too little product or working too long | Add 1 to 2 drops, shorten the work cycle, clean the pad |
| Product slinging off the pad | Too much product or starting at high speed | Use 3 to 4 drops and spread at the lowest speed first |
| Pad stops spinning | Too much pressure or pad tilted | Ease off, keep the pad flat, and watch the marker line on the backing plate |
| Defects won't come out | Combination too mild, or scratch too deep | Step up to Rubbing Compound on the Scratch Removing Microfiber Pad; fingernail-deep scratches may need touch-up or a body shop |
| White residue on trim | Compound got on textured plastic or rubber | Tape off trim first; remove residue with a soft brush and an all-purpose cleaner |
| Pad feels hot or gummy | Pad loaded with residue | Clean the pad after every section; swap to a fresh pad |
Keeping it swirl-free
Most swirls come from washing and drying, not from driving. Once your paint is corrected, a safe wash routine keeps it that way.
- Prewash before you touch the paint. Foam the car with Veros Touchless Prewash Cleaner and rinse, so most of the grit is gone before your mitt goes on.
- Use two buckets. One 5 gallon wash bucket for soap and one for rinse water, so grit stays off the paint.
- Use a gentle soap. Veros pH Balanced Maintenance Soap for uncoated paint, or SiO2 Infused Silica Soap to add gloss and protection as you wash. Not sure which? See our soap guide.
- Wash with plush microfiber. The Veros Premium Wash Pad releases dirt in the rinse bucket instead of dragging it across the paint. Wash top to bottom and rinse the pad often.
- Dry gently. Blot or drag a Veros 1100 GSM Drying Towel across the paint. Never rub hard or use an old bath towel.
- Skip brush car washes. Automatic brush washes put swirls right back in.
- Never wipe dusty paint dry. For light dust between washes, use Ceramic Waterless Wash with plenty of product and clean towels.
- Top up protection. Ceramic Boost every few washes keeps a coating slick and makes the car easier to clean.
Planning to coat after you correct? Read Prep Is Everything before you start.
FAQ
Can I do paint correction by hand? Light polishing by hand can add gloss, but true defect removal needs the speed and consistency of a DA polisher.
How much clear coat does it remove? A properly done correction removes only a few microns, a small fraction of the clear coat. That is why you start with the least aggressive combination.
How often should I correct my paint? Ideally once. Protect it afterward with a ceramic coating and wash it safely, and you should only need a light polish every few years.
Can I use these products on a new car? Yes. New cars often arrive with swirls from dealer prep. Start with Final Polish on the Final Finishing Foam Pad.
What size pad should I buy? Match your polisher's backing plate. 5 and 6 inch pads cover large panels; 3 inch pads reach pillars, mirrors and tight areas.
Do I need a paint depth gauge? Not for a light polish on factory paint. If your car has been repainted, is older, or you plan to compound heavily, a gauge shows how much paint you have to work with.
Can I polish in the sun? No. Hot panels make compound and polish dry before they finish working. Work in a garage or in the shade on a panel that's cool to the touch.
Do I need to wax or coat after polishing? Yes. Polishing leaves the paint bare. Seal it with a ceramic coating as soon as you finish.
Caring for your pads and towels
- Pads: Clean them on the machine between sections and wash them by hand in warm water when you're done. Air-dry face down so water drains out of the backing.
- Towels: Wash Veros microfiber separately from other laundry, with no fabric softener, and dry on low heat. Softener clogs the fibers and causes streaking.
- Keep them clean: If a towel or pad touches the floor, set it aside. One piece of grit can undo hours of work.
Pro tips
- Work in a cool, shaded space. Hot panels make compound and polish dry too fast.
- Less product is more. Too much compound builds up, gums the pad and is harder to wipe off.
- Be extra careful on edges, body lines and previously repainted panels.
- Do one panel completely before moving on, and check it with Prep Spray and your light every time.
Protect your corrected paint
Freshly corrected paint has no protection. Right after the Prep Spray wipe, seal in your work with Veros Sprayable 1 Year Ceramic Coating, or get everything you need in the Veros Complete Ceramic Protection System.
Every Veros purchase supports Car Care for Cancer: 10% of gross sales go to children's cancer charities, including St. Jude.
About the author
Chris Jankowski is the founder of Veros Premium Car Care and has spent 28 years as a professional detailer. He was named the International Detailing Association's Detailer of the Year in 2016, and NASCAR, INDYCAR and NHRA race teams trust his detailing team.
Chris created Veros to give enthusiasts the same products his team relies on every day on high-end and exotic cars. Every compound, polish and pad in this guide is one his own crew uses.